
Lab Freezer Organization: A Step-by-Step Guide (Free Template)
 November 9, 2026
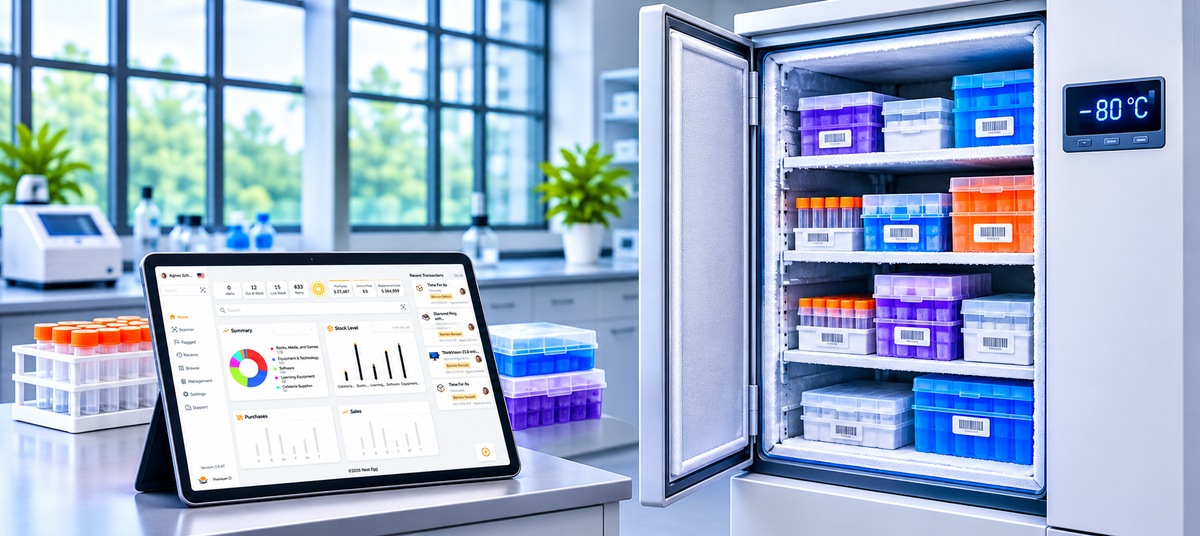
Every lab has one: the freezer where samples go in easily and come out only after ten minutes of digging through frosty boxes with the door open. Good lab freezer organization fixes that with a simple system: a name for every freezer, rack, and box, a fixed position for every tube, and a map that matches what’s inside. This guide walks through setting one up, and includes a free lab freezer inventory template with printable box maps.
Download the freezer inventory template (.xlsx) Download as CSV
The Excel file has a freezer inventory sheet, plus printable 9×9 and 10×10 box maps for standard 81- and 100-position freezer boxes.
Why freezer organization matters
A disorganized freezer costs more than time:
- Samples get lost. When only one person knows which box holds a cell line or a precious extract, that knowledge leaves with them.
- Temperatures swing. Every minute the door stays open while someone searches warms the contents and builds frost.
- Space fills up with unknowns. Unlabeled tubes and boxes from people who left years ago take up room nobody dares clear.
- Reagents expire unseen. Enzymes and antibodies at the back of a rack expire before anyone notices.
How to organize a lab freezer, step by step
1. Name every level of storage
Give every freezer, rack or shelf, and box a short, unique name, and label it physically with the same name. A typical path looks like this:
Biology Building › Room 214 › −80 °C Freezer 2 › Rack C › Shelf 3 Box 12 › Position A1
Use the same pattern everywhere, including −20 °C freezers, fridges, and liquid nitrogen dewars, where canes or racks take the place of shelves.
2. Give every tube a position
Standard freezer boxes hold 81 tubes in a 9×9 grid or 100 in a 10×10 grid. Label the rows with letters and the columns with numbers, so A1 is always the top-left corner when the box faces you. Recording the position next to each sample turns “it’s somewhere in Box 12” into “Box 12, C4”.
3. Group by type and owner
Decide what goes where before you start moving things: cell stocks in one rack, plasmids in another, enzymes in a door rack or dedicated box, and each person or project with their own boxes. Groups make the freezer easier to scan, and they make it obvious who to ask about a box.
4. Label tubes so labels survive the cold
Use labels or markers made for freezer and cryogenic storage, and put the same essentials on every tube: what it is, the date, and the owner’s initials. Label the side of the tube, not only the cap, since caps get swapped.
5. Keep a freezer map and an inventory
Print a box map for each box and keep it with the box or on the freezer door, so people can find a sample before they open the freezer. Behind the maps, keep one freezer inventory that lists every sample with its full location and position. The template has both: the Freezer Inventory sheet and the printable box maps.
6. Review and clear out regularly
Schedule a review at least once a year. Ask each owner to confirm their boxes, dispose of expired reagents and unneeded samples according to your lab’s procedures, and defrost or clean freezers as the manufacturer recommends. Moving samples to a backup freezer during cleaning is much easier when the inventory says exactly what’s in each box.
Using the lab freezer inventory template
The Freezer Inventory sheet has one row per sample, aliquot set, or reagent, with these columns:
| Column | What to enter |
|---|---|
| Name and Type | What the sample is, and whether it’s cells, DNA, RNA, protein, an antibody, an enzyme, and so on. |
| Freezer, Rack / Shelf, Box, Position | The short names you labeled each level with, and the grid position, e.g. C4. |
| Location | The full path from the building down, for anyone who doesn’t know the lab. |
| Quantity, Volume / Amount, Concentration | How many tubes, how much is in each, and at what concentration. |
| Lot / Batch and Expiration Date | For purchased reagents. Rows turn yellow 90 days before expiry and red after it. |
| Date Stored, Owner, Project | When it went in and who to ask about it, which makes yearly reviews quick. |
The Box Map sheets print one grid per page, with space for the freezer, rack, box, owner, and date. Fill one in for each box and update it when you add or remove tubes.
Tips to keep your lab freezer organization working
- Look before you open. Check the map or inventory first, then open the door once and go straight to the right box.
- Return to the same place. A tube put back in a different position is as good as lost.
- Update as you go. Record a new sample when you store it and remove it when you use the last tube, not at the end of the week.
- Keep a list of what to rescue first. If a freezer fails, the inventory tells you which boxes are irreplaceable and need to move first.
- One person per freezer. A named freezer manager keeps the labels, maps, and reviews on track.
When a spreadsheet stops working
Spreadsheets and printed maps work until the lab grows, maps fall out of date, and nobody can update the inventory from the freezer itself. Lab inventory management software keeps the map and the inventory in one place, on the phone in your hand.
With Nest Egg Cloud:
- Your storage is mapped as locations, right down to the position in a box, e.g. Biology Building › Room 214 › −80 °C Freezer 2 › Rack C › Shelf 3 Box 12 › A1.
- QR labels on boxes and freezer doors show what’s inside when you scan them with any iPhone or Android phone.
- Moves are recorded when samples transfer between freezers, so the inventory stays right during a defrost or a breakdown.
- Usage is recorded when someone takes a tube, so counts stay current.
- Purchased reagents carry their lot numbers and expiry dates from delivery, with alerts before they expire.
To move over, save the Freezer Inventory sheet as CSV and import the item details into Nest Egg, mapping each column once to a Nest Egg field such as name or quantity, or to a custom field such as concentration. Lot numbers and expiry dates aren’t imported: Nest Egg records them on each transaction as stock is received or used. There is a free plan to start, and paid plans with a 2-week free trial. See how Nest Egg works for labs.
Lab freezer organization FAQs
What is the best way to organize a lab freezer?
Name every freezer, rack, shelf, and box, give every tube a grid position, group boxes by type and owner, and keep a map and an inventory that match what’s inside. Review it at least once a year.
How do you label freezer box positions?
Use letters for rows and numbers for columns, with A1 in the top-left corner when the box faces you. A 9×9 box runs from A1 to I9, and a 10×10 box from A1 to J10.
Is the freezer inventory template free?
Yes. Download the Excel file or the CSV and use them as you like. No sign-up is needed.
Can I use the template for −20 °C freezers, fridges, and liquid nitrogen?
Yes. Use the Freezer column for the unit, and Rack / Shelf for whatever divides it, such as shelves, drawers, or canes.
How often should a lab freezer be cleaned out?
At least once a year, or as your lab’s procedures and the freezer manufacturer recommend. Ask owners to confirm their samples first, and dispose of anything unneeded or expired following your safety rules.


 (510) 270 5798


